It is the feature for building image galleries. You've got four options:
- Create a gallery from Picasa
- Create a gallery from Instagram
- Create a gallery with your own photos
- Create a gallery from Facebook

1. Create a gallery from Picasa
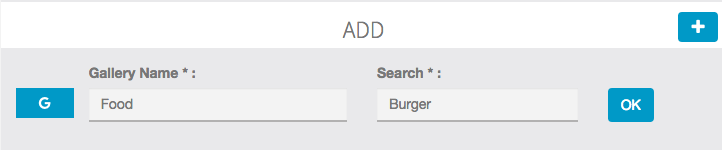
The "name" field allows you to give a name to your gallery. If you have several galleries, users will thus be able to choose the gallery they want to take a look at.
With the "search" field you'll be able to retrieve all photos from Picasa that are relevant to this search.
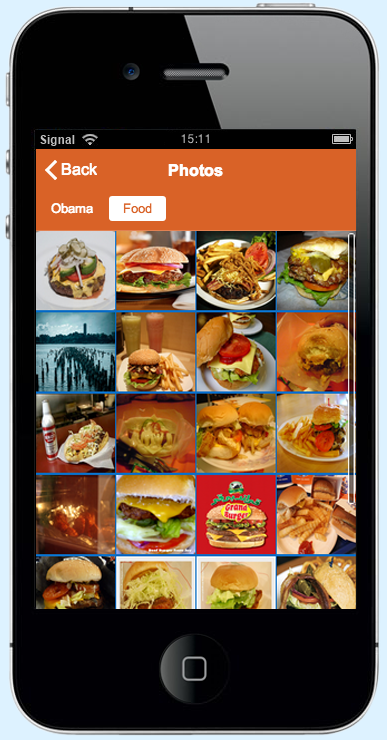
And the result is:
You can also retrieve all photos from a specific Picasa album or Picasa account:
Fill in the Search field with your Picase account email.
Select the album you want to add to your app (Your Picasa album must be public).
You're done.
2. Create a gallery from Instagram
Since Instagram has changed their API policies, now you must use your own Instagram keys in order to create an Instagram gallery.
How to create your Instagram keys:
- You need an Instagram account
- Login at http://instagram.com/developer/
- Click on Manage Clients (in the header menu at http://instagram.com/developer/)
- Click on Register a New Client
- Fill out the fields, for the App Name enter the name of your company or your app, and for the app description just tell that this Instagram app allows you to integrate Instagram photo gallery in your mobile application. In the Website and Valid redirect URIs field, just enter the url of Cell Apps Builder "https://cms.cellappsbuilder.com", enter the captcha and click on Register.
- Now you have a Client ID and a Redirect URI
- Click on "Manage" to enter in your Instagram app, then click on the "Security" tab, uncheck "Disable implicit OAuth:" and click on "Update Client".
- In this URL: https://api.instagram.com/oauth/authorize/?client_id=CLIENT-ID&redirect_uri=REDIRECT-URI&response_type=token replace "CLIENT-ID" and "REDIRECT-URI" with your own info, and then paste the url in your browser. For instance the URL to paste in your browser would be like https://api.instagram.com/oauth/authorize/?client_id=817718189191&redirect_uri=https://cms.cellappsbuilder.com&response_type=token if your CLIENT-ID is "817718189191" and if your REDIRECT-URI is https://cms.cellappsbuilder.com
- Accept to share with the info
- You obtain the token (it is in the URL after "access_token=")
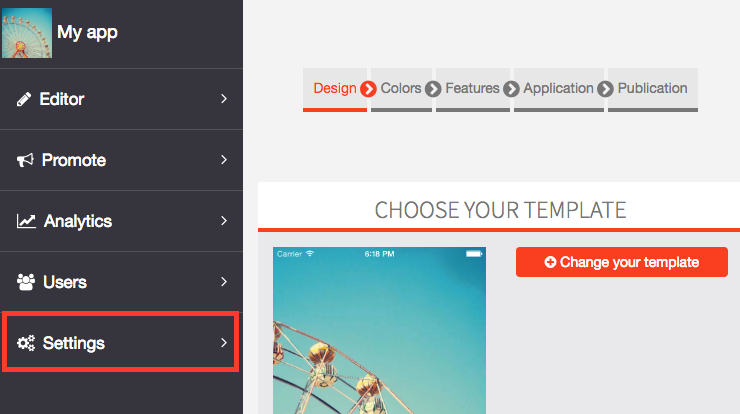
Then go in Settings:
Then click on APIs:
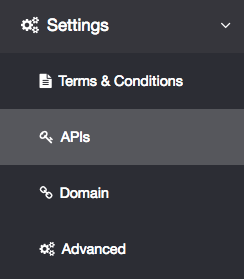
Then fill your Instagram API keys:
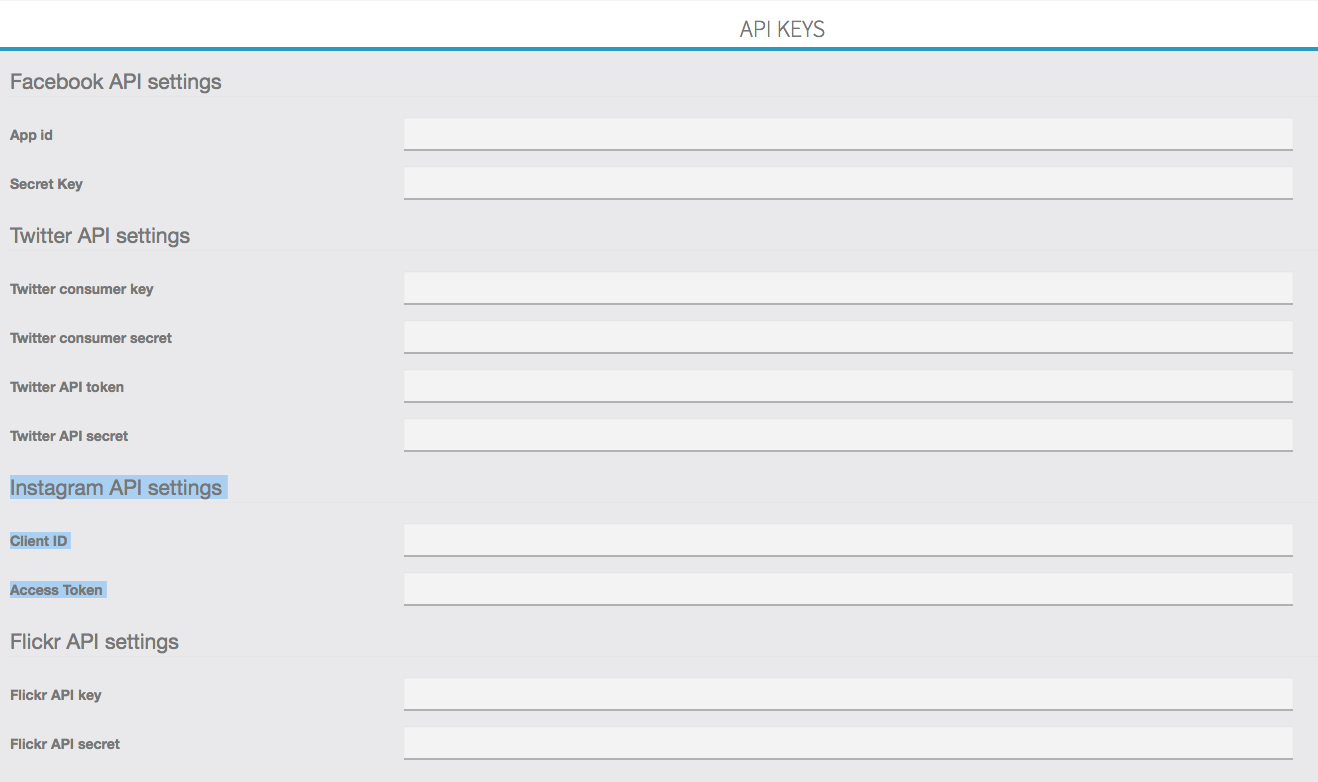
Once you have filled your Instagram keys, you will be able to add your Instagram gallery.

3. Create from your own photos :
Give a name to your gallery, and click on "0 image" to upload photos from your computer.

You can upload several photos in the same time, just select from one folder all the photos you want to upload.
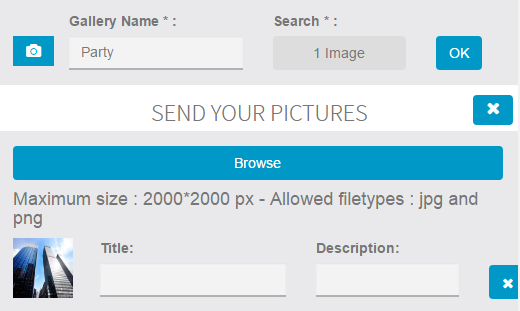
It's not mandatory, but you can enter a title and a description for all your photos.
Click on "Ok" to save your gallery.
4. Create a gallery from Facebook:
Enter the Facebook ID of your Facebook Fan page and choose which images you want to show in the "Search" field 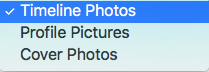 :
:

To create a new gallery, click on ![]() and repeat the process above.
and repeat the process above.